DIY Foaming Soap Recipe
I love discovering hacks that make my life easier, save money, protect my family, and save the environment! This foaming soap making project checks every single one of those boxes. If you are looking for the chance to make a luxurious and special soap in next to no time, this is it!
2 Ingredient Instant Foaming Soap Recipe
Disclaimer: This article may contain commission or affiliate links. As an Amazon Associate I earn from qualifying purchases.
About 10 years ago my son became obsessed with washing his hands. It all started when he started school. They convinced him that handwashing was the single most important thing he needed to do every day, constantly. My anxious kid really took this lesson to heart and since that time he has been obsessed with handwashing multiple times an hour.
Now, we all agree, handwashing is very important. But he was doing it so often his skin was drying, cracking and his hands were constantly an angry red. It was not good and he refused to use lotion because it made him want to wash his hands even more.
As a mom this was extremely hard to parent!
Not only was my baby damaging his skin, but I was also spending a fortune on soap (he could literally go through an entire dispenser of liquid soap in a single day).
Instead of fighting with him, I decided I needed to find a way to make a soap that was safer for his skin, was more budget friendly, and would reduce the amount of plastic we were going through.
Finding a Soap Solution
I tried bar soaps, but he said he didn’t want to use a bar soap that other people were using. Since my husband is a blacksmith I have to say, bar soaps were really not a good fit. We needed a dispenser we could clean.
Liquid soap was expensive. Even when I bought the liquid refills. He went through so much soap, plus all the water. It was not working at all.
Then I tried foaming soaps.
The Benefits of Foaming Soap
We had a winner! My son actually enjoyed using foaming soap. Plus, foaming soap is actually better in some ways than regular liquid soap. Here’s how:
- People use less soap when dispensing it from a foaming dispenser. Most people feel one to two squirts is enough. That is less soap (and money) going down the drain with each wash.
- People use 15% less water to lather with foaming soap so that’s less water use which is environmentally friendly. Plus, due to the usability of foaming soap, many people don’t wet their hands first and only use water to rinse the soap from their hands. This can result in a water savings of 45% compared to traditional hand washing.
- When you make your own foaming soap, you not only save money, but reuse the dispenser, often for many months at at time, saving you money and reducing the amount of plastic use.
The Magic is In the Dispenser
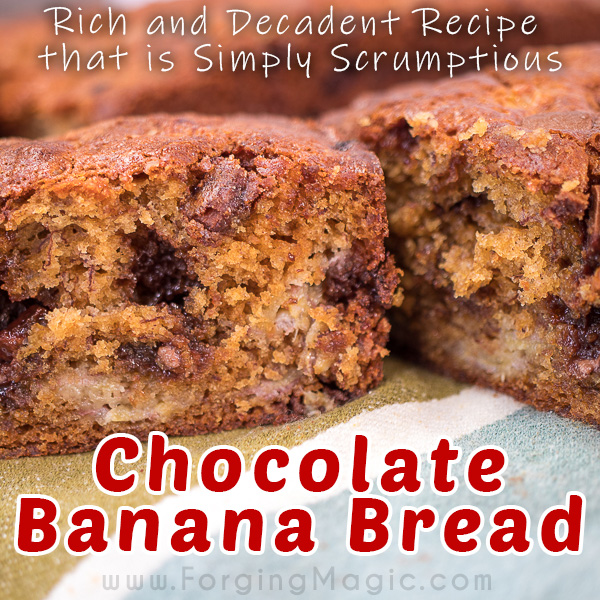
So how does foaming soap foam? The magic all happens in the dispenser.
There is nothing special about foaming soap, it’s all down to the way the soap is dispensed. Foaming dispensers add air to the soap as you push down on the foaming pump. Take a closer look at the foaming soap dispenser and you will see the soap is held in the main chamber, and then attached to the pump there’s a smaller chamber. That smaller chamber is the magic touch that forces air into the soap as you pump it out.
This means you can easily make your own foaming soap. All you need is the dispenser.
Are All Dispensers Equal?
Due to the amount of handwashing going on around here, I want my dispensers to really last. Certain brands are really prone to breaking and only last through a couple of refills. This may reduce our plastic use a bit, but I want to do more to reduce and reuse. So I am happy to report that some brands are much more durable, including one that I have been able to use for a year without it breaking.
The brand with the most durable dispenser in my experience is JR Watkins. I have one by our kitchen sink which gets used on average every 30 minutes all day long. I have been refilling the same bottle for a year now. It is sooo durable!
That said, you can also buy new dispensers. Amazon has a few options of new dispensers, including some glass ones. I have not used these, as I find them cost prohibitive to get here in Canada. So instead I buy my JR Watkins and refill those bottles. But maybe one day we will have a more reasonable option here. The mason jar inspired ones are super cute!
DIY Foaming Soap Recipe
The only supply you need is:
A Foaming Soap Dispenser – See above for which ones to use
Our two magic ingredients are:
Water
Castile liquid soap (I prefer unscented so I can create my own magical soaps)
Optional additions:
Essential oils (more on this in a second)
Food colouring (to make your soap pretty colours)
Grapeseed Oil (or similar liquid, skin conditioning oil)
Making Foaming Soap
Take a look at your bottle and estimate approximately 1/8 of the bottle, add that amount of Castile Soap to your bottle. In most of my bottles this is about 2 tablespoons of soap. You can adjust this by increasing or decreasing the amount of soap to suit your needs.
Customize Your Soap
Now we can customize your foaming soap to make it special just for you and your family! These steps are completely optional. You can skip this and go straight to the water step if you wish.
Add a few drops (5 to 10 drops) of essential oil if desired. When we have sick bugs in our house and want to boost the cleansing of our soaps I add a few drops of tea tree oil. In the bathrooms where we wash before bed, I often add lavender essential oil. You can use whatever suits your preferences.
When it is winter and our hands are particularly dry or my son’s hands are getting really red and cracked, I will add 1/2 teaspoon of grapeseed oil. I don’t do this 99% of the time because I find this soap is already very gentle, but it is an option when needed.
Sometimes I want my soap bottles to look pretty and colourful. When I want to do this I will add 1 or 2 of food colouring (a little goes a LONG way) to the soap. You can create some gorgeous soap colours this way.
If you have added optional items to your soap, you can use a skewer stick to mix them with the soap, or gently swirl your bottle in a circular motion. This is too much work thought, so I usually don’t worry too much about mixing, since the next step mixes it all together quite well.
The Final Step!
Now we are ready to add our water!
Gently and slowly pour in warm water. Warm water makes it easier for the soap and water to mix. Just be slow so you don’t end up with tons of bubbles.
Pro Tip! Tip your bottle and slowly pour the water down the side of the inside of the bottle. This will help prevent the water from agitating the soap and creating too many bubbles as you fill your bottle.
Screw back on the foam dispenser top and you are ready to go!
Why Castile Soap?
As I mentioned, I have been making my own foaming soap for about 10 years. I have tried using regular liquid soap refills, and although this will work, I find this option is more expensive, can’t be customized, and since the soap is not as concentrated, I need more soap to make the foaming soap. I usually need about 1/4 of the bottle to be soap if I use regular liquid soap. That’s double what I need if I use Castile.
The benefits of Castile Soap:
- Castile soap is budget friendly.
- Castile soap is made with natural oils and ingredients (exact formula varies based on brand) and is incredibly gentle, moisturizing and soothing for the skin (perfect for my kid who washes his hands so often!).
- Castile soap is more effective at cleaning than regular hand soaps, even with extremely dirty and greasy blacksmith hands!
- I can buy it in gigantic bottles that last forever and reduce plastic use.
- It is concentrated so I use much less to make foaming soap.
- I can get it unscented, this allows me to can customize my soap with my own magical mix.
- I can get it already infused with essential oils (such as tea tree oil, peppermint and lavender), for quick refills.
- I can buy it at any grocer or drug store, making to easily accessible and I can watch for sales.
The Super Fast, 2 Ingredient DIY Foaming Soap
OK, so I just shared my special, magical soap recipe. But keeping it real I don’t do all the extra special steps most of the time. So this is what I do most of the time in our busy home. I keep a bottle of Castile Soap (already infused with essential oils) under the sink. When the dispenser is empty, I unscrew the lid. Rinse and clean the bottle. Add about 2 tablespoons of Castile Soap, then top it off with warm water from the tap. Screw back on the lid and we are back to hand washing in about 30 seconds.
So that’s it! Super easy, environment saving, hand protecting, budget friendly, foaming soap recipe.
More Magical Projects
2 Ingredient Foaming Soap Recipe
Equipment
- Foaming Soap Dispenser
Materials
- 2 tbsp castile soap (adjust amount as required)
- water (enough to fill the bottle)
Optional Additions
- 5-10 drops Essential oils
- 1 drop Food colouring
- 1/2 tsp Grapeseed Oil
Instructions
- Take a look at your bottle and estimate approximately 1/8 of the bottle, add that amount of Castile Soap to your bottle. In most of my bottles this is about 2 tablespoons of soap. You can adjust this by increasing or decreasing the amount of soap to suit your needs.
- Hold the bottle at an angle and fill the bottle with warm water. Letting the water run down the side of the inside of the bottle will help prevent bubbles forming.
Customizing Foaming Soap
- If you wish to customize your foaming soap, before adding the water, add any essential oils, food colouring or grapeseed oil to the bottle. Then finish by topping it off with the water.


