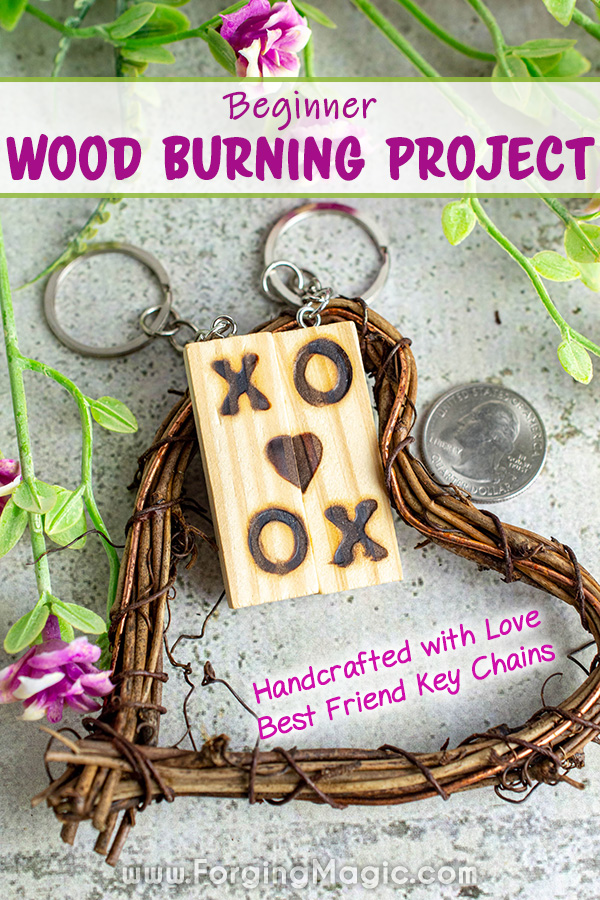
Wood Burning Key Chain DIY Project
Learning new skills by trying DIY projects is a fantastic way for us to grow. You never know where a new skill or hobby could take you. It could become a new passion and hobby, maybe even a side hustle. Today we are exploring wood burning, with a fun and simple key chain project.
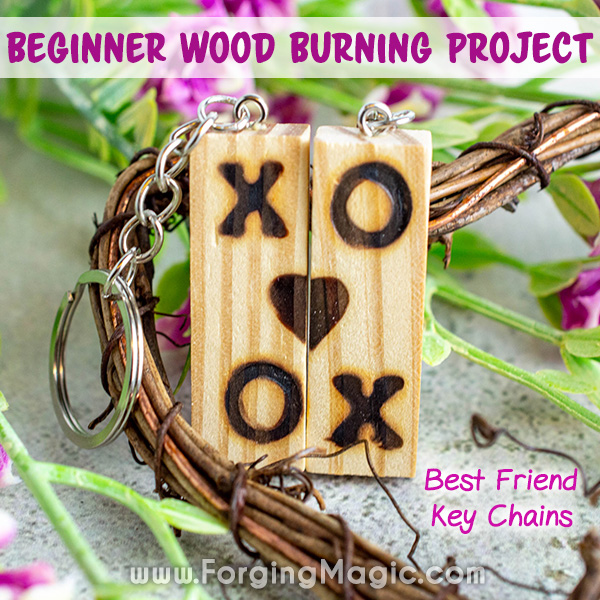
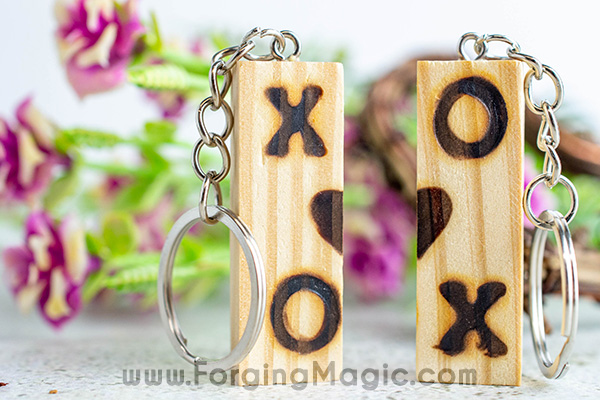
Handcrafted BFF Key Chains
Wood Burning Project
Disclaimer: This article may contain commission or affiliate links. As an Amazon Associate I earn from qualifying purchases.
Remember the old school best friends necklaces and key chains that were all the rage in the 80’s? Everyone wanted one of these trinkets to share with their BFF!
Today we are creating a fun version of this idea, while also learning about wood burning.
Wood Burning as a Hobby
Wood burning is a fascinating hobby if you love being creative and working with natural processes and materials. The starter kits are also very reasonable, and open up a whole range of creative outlets.
If you are looking to try a new creative hobby, wood burning is a great option. And this project is a great first project! Once you master the basic skills you can start creating even more masterpieces to gift to those you love.
Wood Burning DIY Key Chain Project
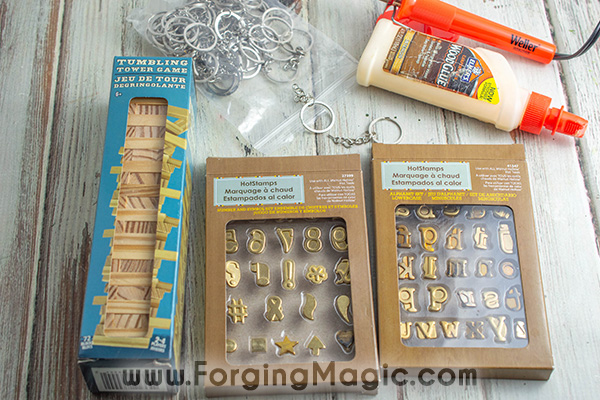
Supplies
Wood Burning Tool
2 Tumbling Towers wooden game pieces (Tip! You can often find these at dollar stores or second hand shops, or you can cut your own wood blocks.)
Wood Burning Hot Stamps. – This project used the letters “x” and “o” and heart symbol, but you can adapt your design to your preference.
Wood Glue
2 Keyrings with eye screws
Metal craft pliers


Directions
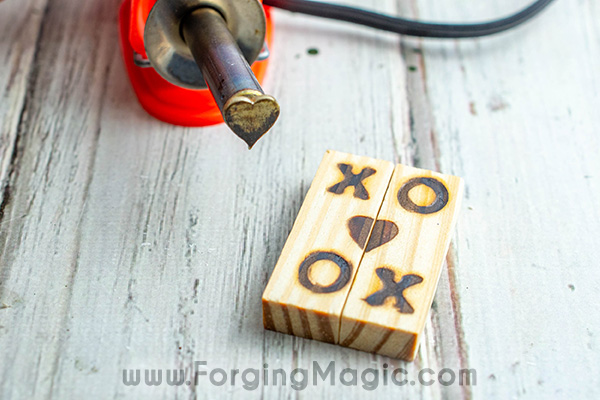
Place the game pieces side by side, vertically.
While unplugged, screw the letter “x” onto your wood burning tool.
Plug in and allow to heat up according to manufacturer directions (or about 5 minutes).
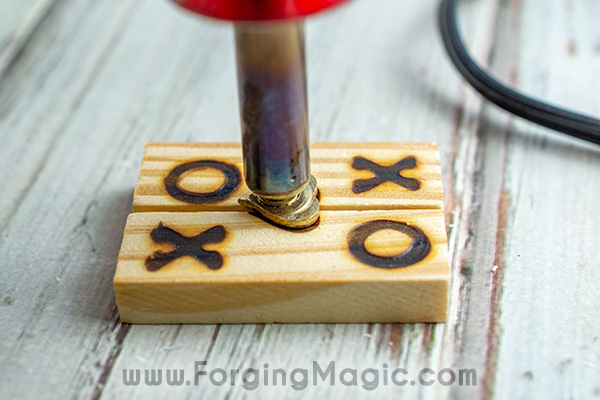
Press the “x” into the top of the left game piece, then repeat on the bottom of the right game piece.
Unplug the tool and allow it to cool completely.
Remove the “x” stamp with the pliers and screw the “o” stamp in.
Plug in the tool and let it heat up.
Press the “o” into the bottom of the left game piece, then repeat on the top of the right game piece.
Unplug the tool and allow it to cool completely.
Once cooled, remove the “o” and screw in the heart symbol.
Plug in again and allow it to heat up.
Making sure the pieces are evenly lined up against each other, press the heart symbol onto the middle of both pieces as evenly as you can, so that half of the heart is on one block and the other half is on the other.
Pour a little glue onto a scrap piece of paper. Dip the eye screw on the end of the key ring into the glue. Find the middle top of the block and firmly press the screw into the wood and twist clockwise until tightened and just the loop at the top of the screw is showing.
Adaptations
Our X/O design is great for a set of best friends key chains or to share with a loved one.
You could easily adapt this project by using initials instead of the Xs and Os, or perhaps a date, or any other symbols.
I love the idea of doing a Binary Code set!
Let your creative juices flow and see what you can create with wood burning!
More Hobby Projects